Overlay, don't eyeball
Plan compare puts two revisions of a sheet on the live canvas at once — side A is your current sheet, side B is the revision file you're checking against — and renders the difference in color: red for what was removed, blue for what was added. Unchanged linework stays neutral, so a relocated wall reads instantly as a red line (old position) running parallel to a blue line (new position), and a resized room shows its old boundary in red. Even a new note block on the revision jumps out in red or blue instead of hiding in the drawing.
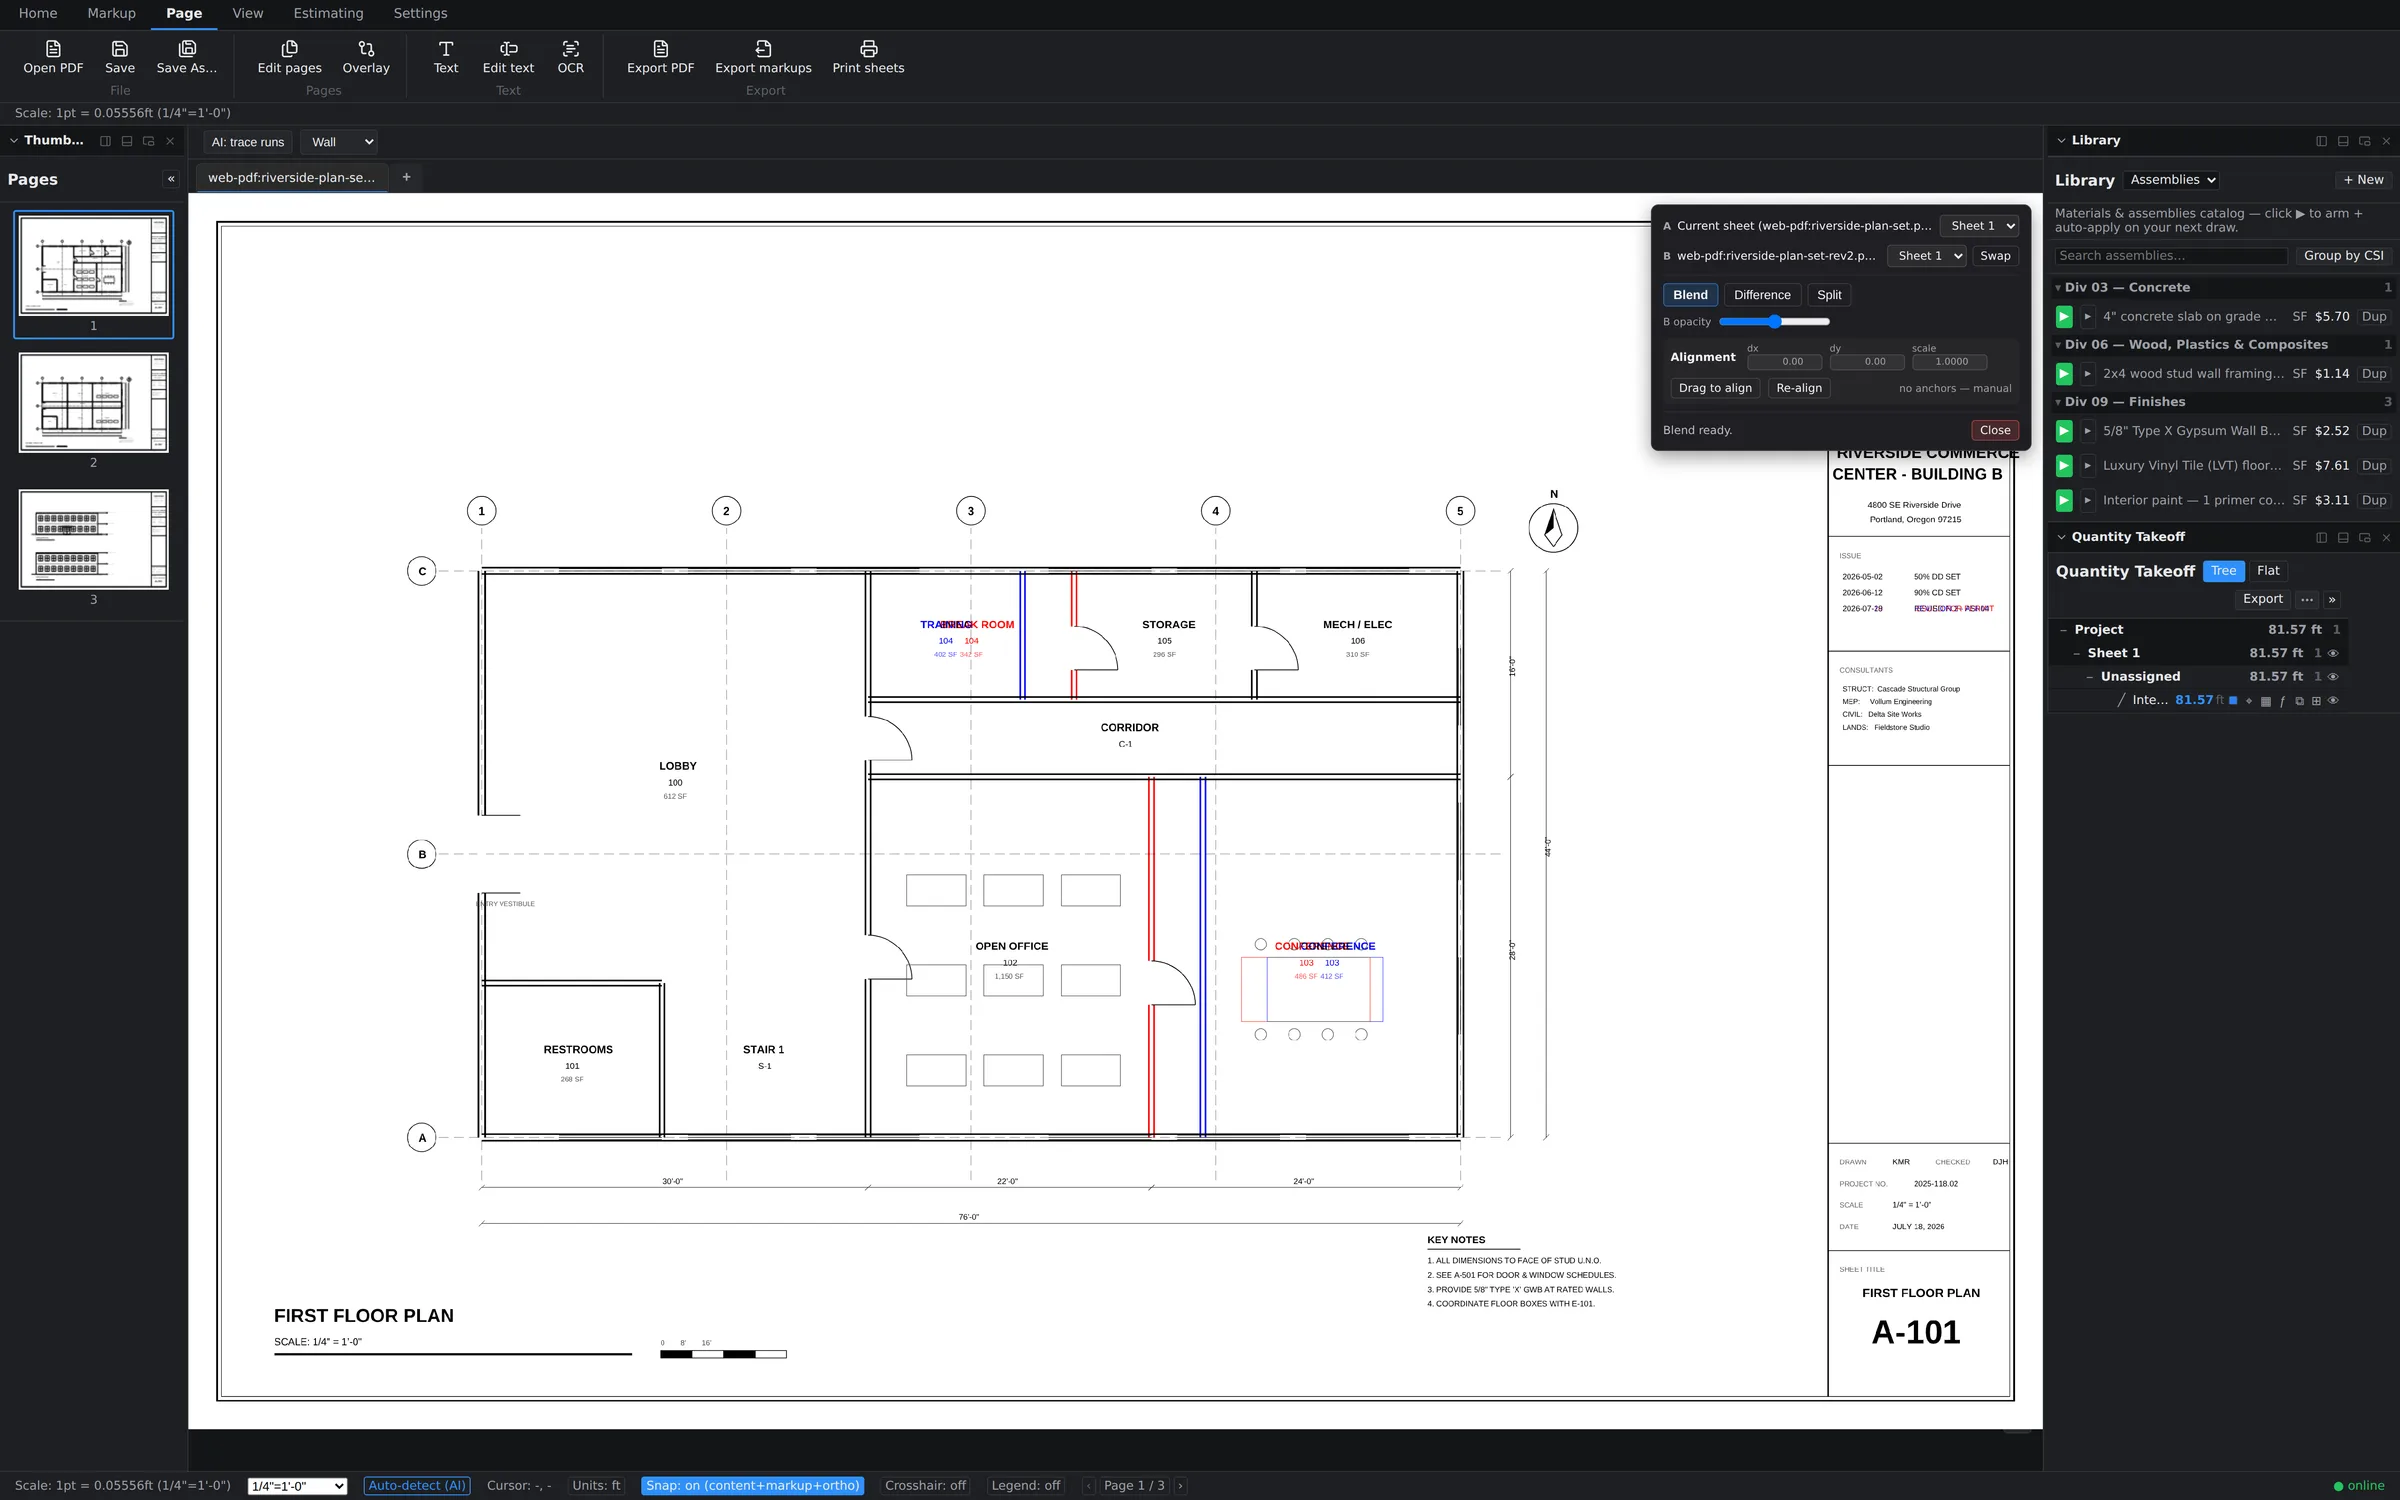
Because the overlay runs on the live canvas, your takeoffs, markups, zoom, and panels all stay exactly where they were — compare is a lens over your working sheet, not a separate viewer.
Run a comparison
- Open the sheet you want to check — the page indicator in the status bar confirms you're on the right one in a multi-sheet set.
- Start a compare and pick side B: the revision document (e.g. riverside-plan-set-rev2). Side A is your current sheet.
- Choose a view mode from the floating compare toolbar: Blend to see both sets ghosted together, Difference for the red/blue diff, or Split to divide the canvas between the two.
- Use the threshold slider to tune sensitivity — raise it to ignore plotter-level noise, lower it to catch fine changes.
- Wait for "Diff ready" in the toolbar, then walk the sheet red-to-blue.
Get the alignment right
A diff is only as honest as its alignment — two sheets printed a hair offset would otherwise light up everywhere. The compare toolbar shows the current dx/dy/scale adjustment, and you can drag to align the overlay by hand or hit Re-align to let anchor matching do it: the toolbar reports how many anchors were used and the residual error (e.g. "5 anchors, residual 0.00 pt"). When the residual reads near zero, what's colored is genuinely changed — not misregistered.
Re-measure only what changed
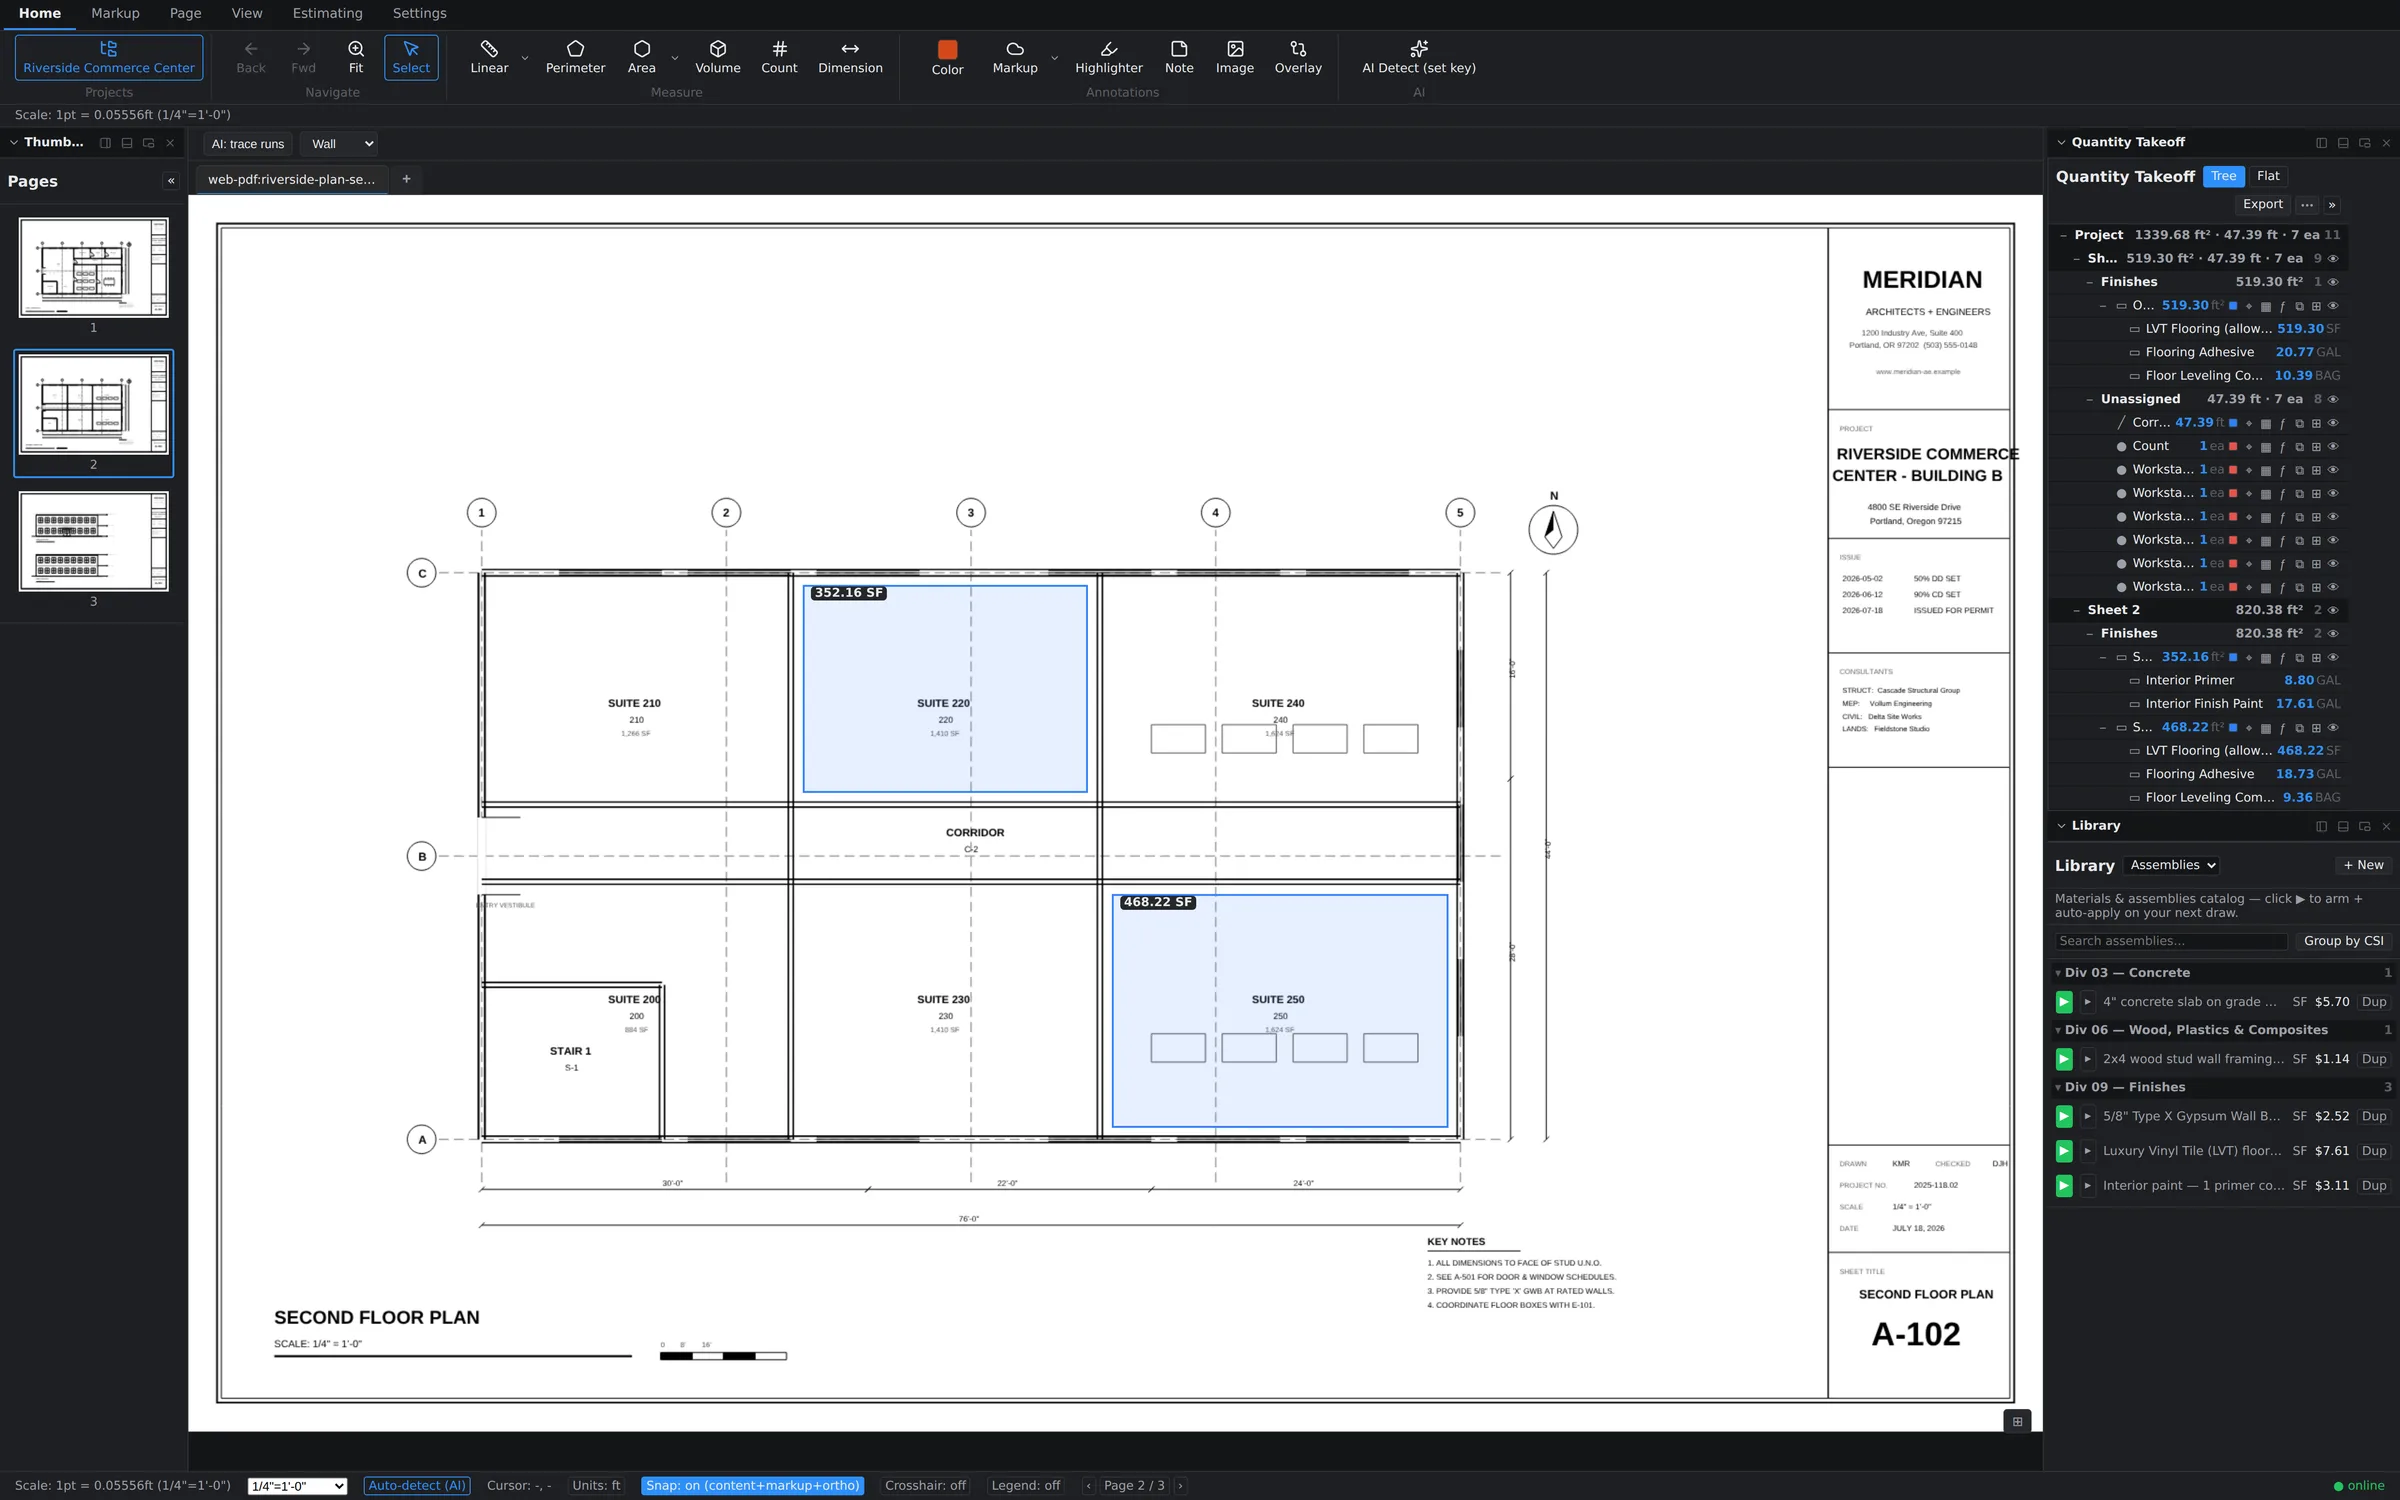
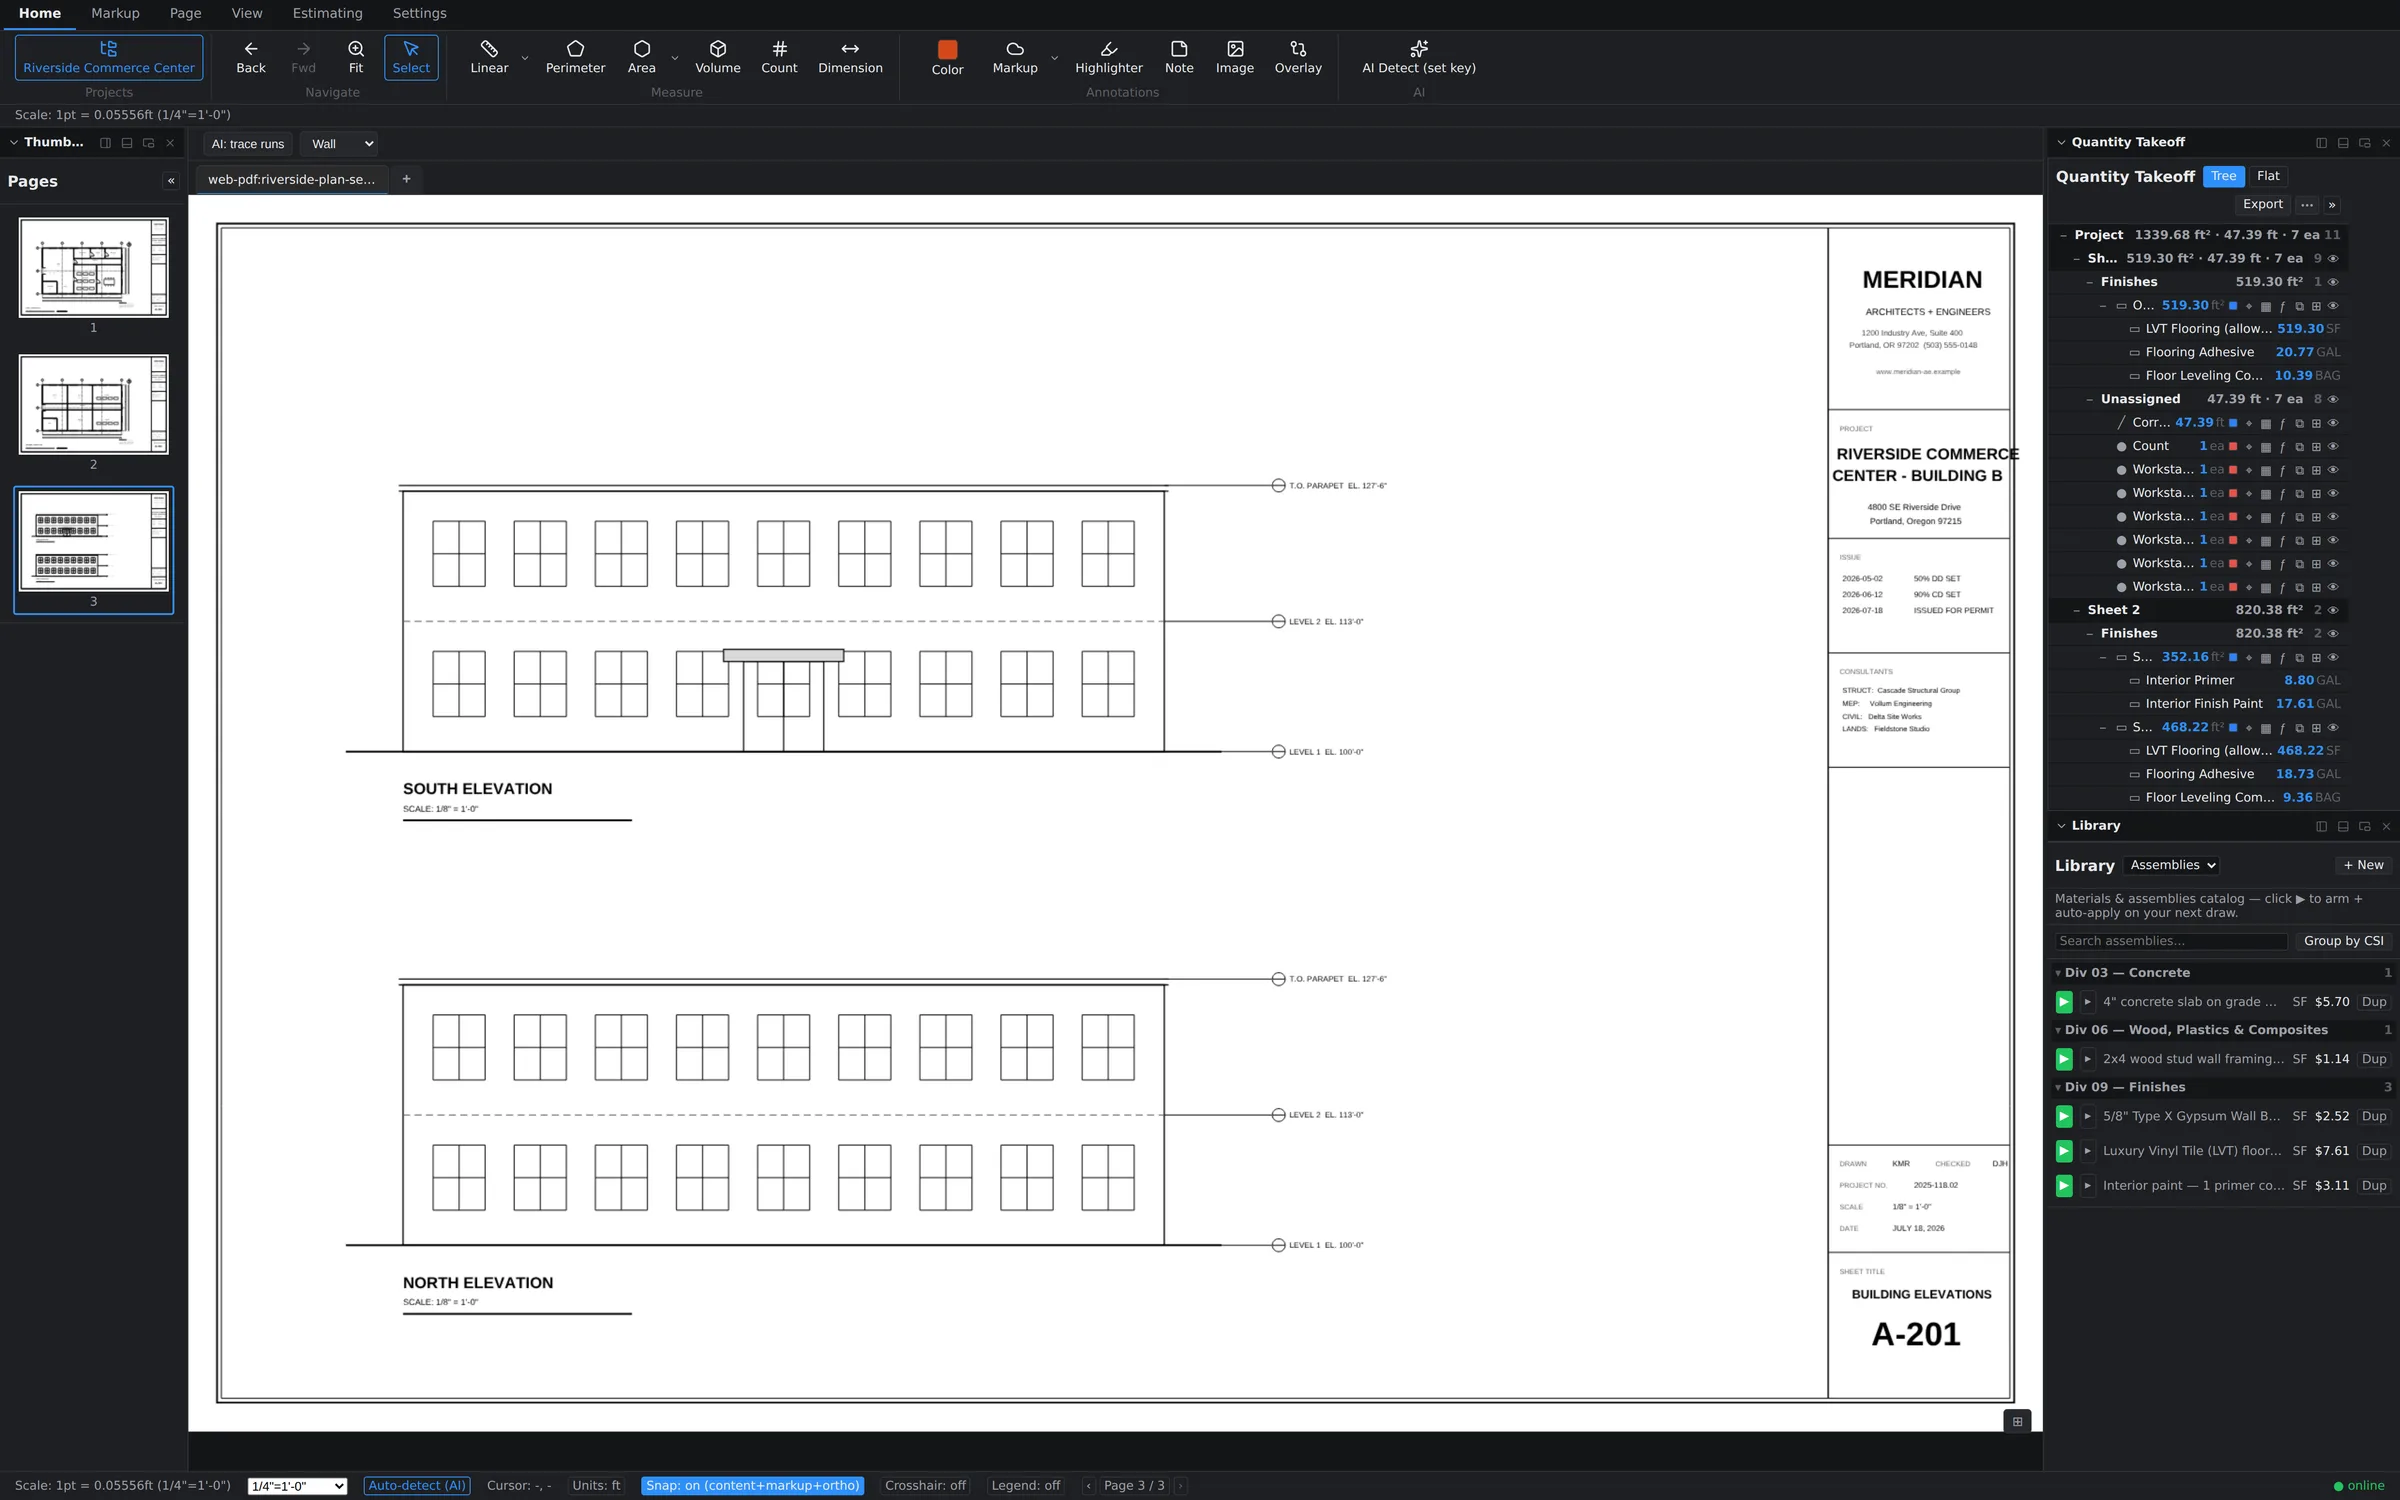
This is where the overlay pays for itself. Your existing measurements are untouched by the comparison, so there's no need to redo the takeoff. Work through the colored regions: where red shows removed scope, delete or trim the affected measurements; where blue shows added scope, draw the new quantities with the overlay still visible as your guide. On a multi-sheet set like the one below, repeat per affected page — floor plans and elevations each get their own pass.
Choose your own colors — and compare pages of one set
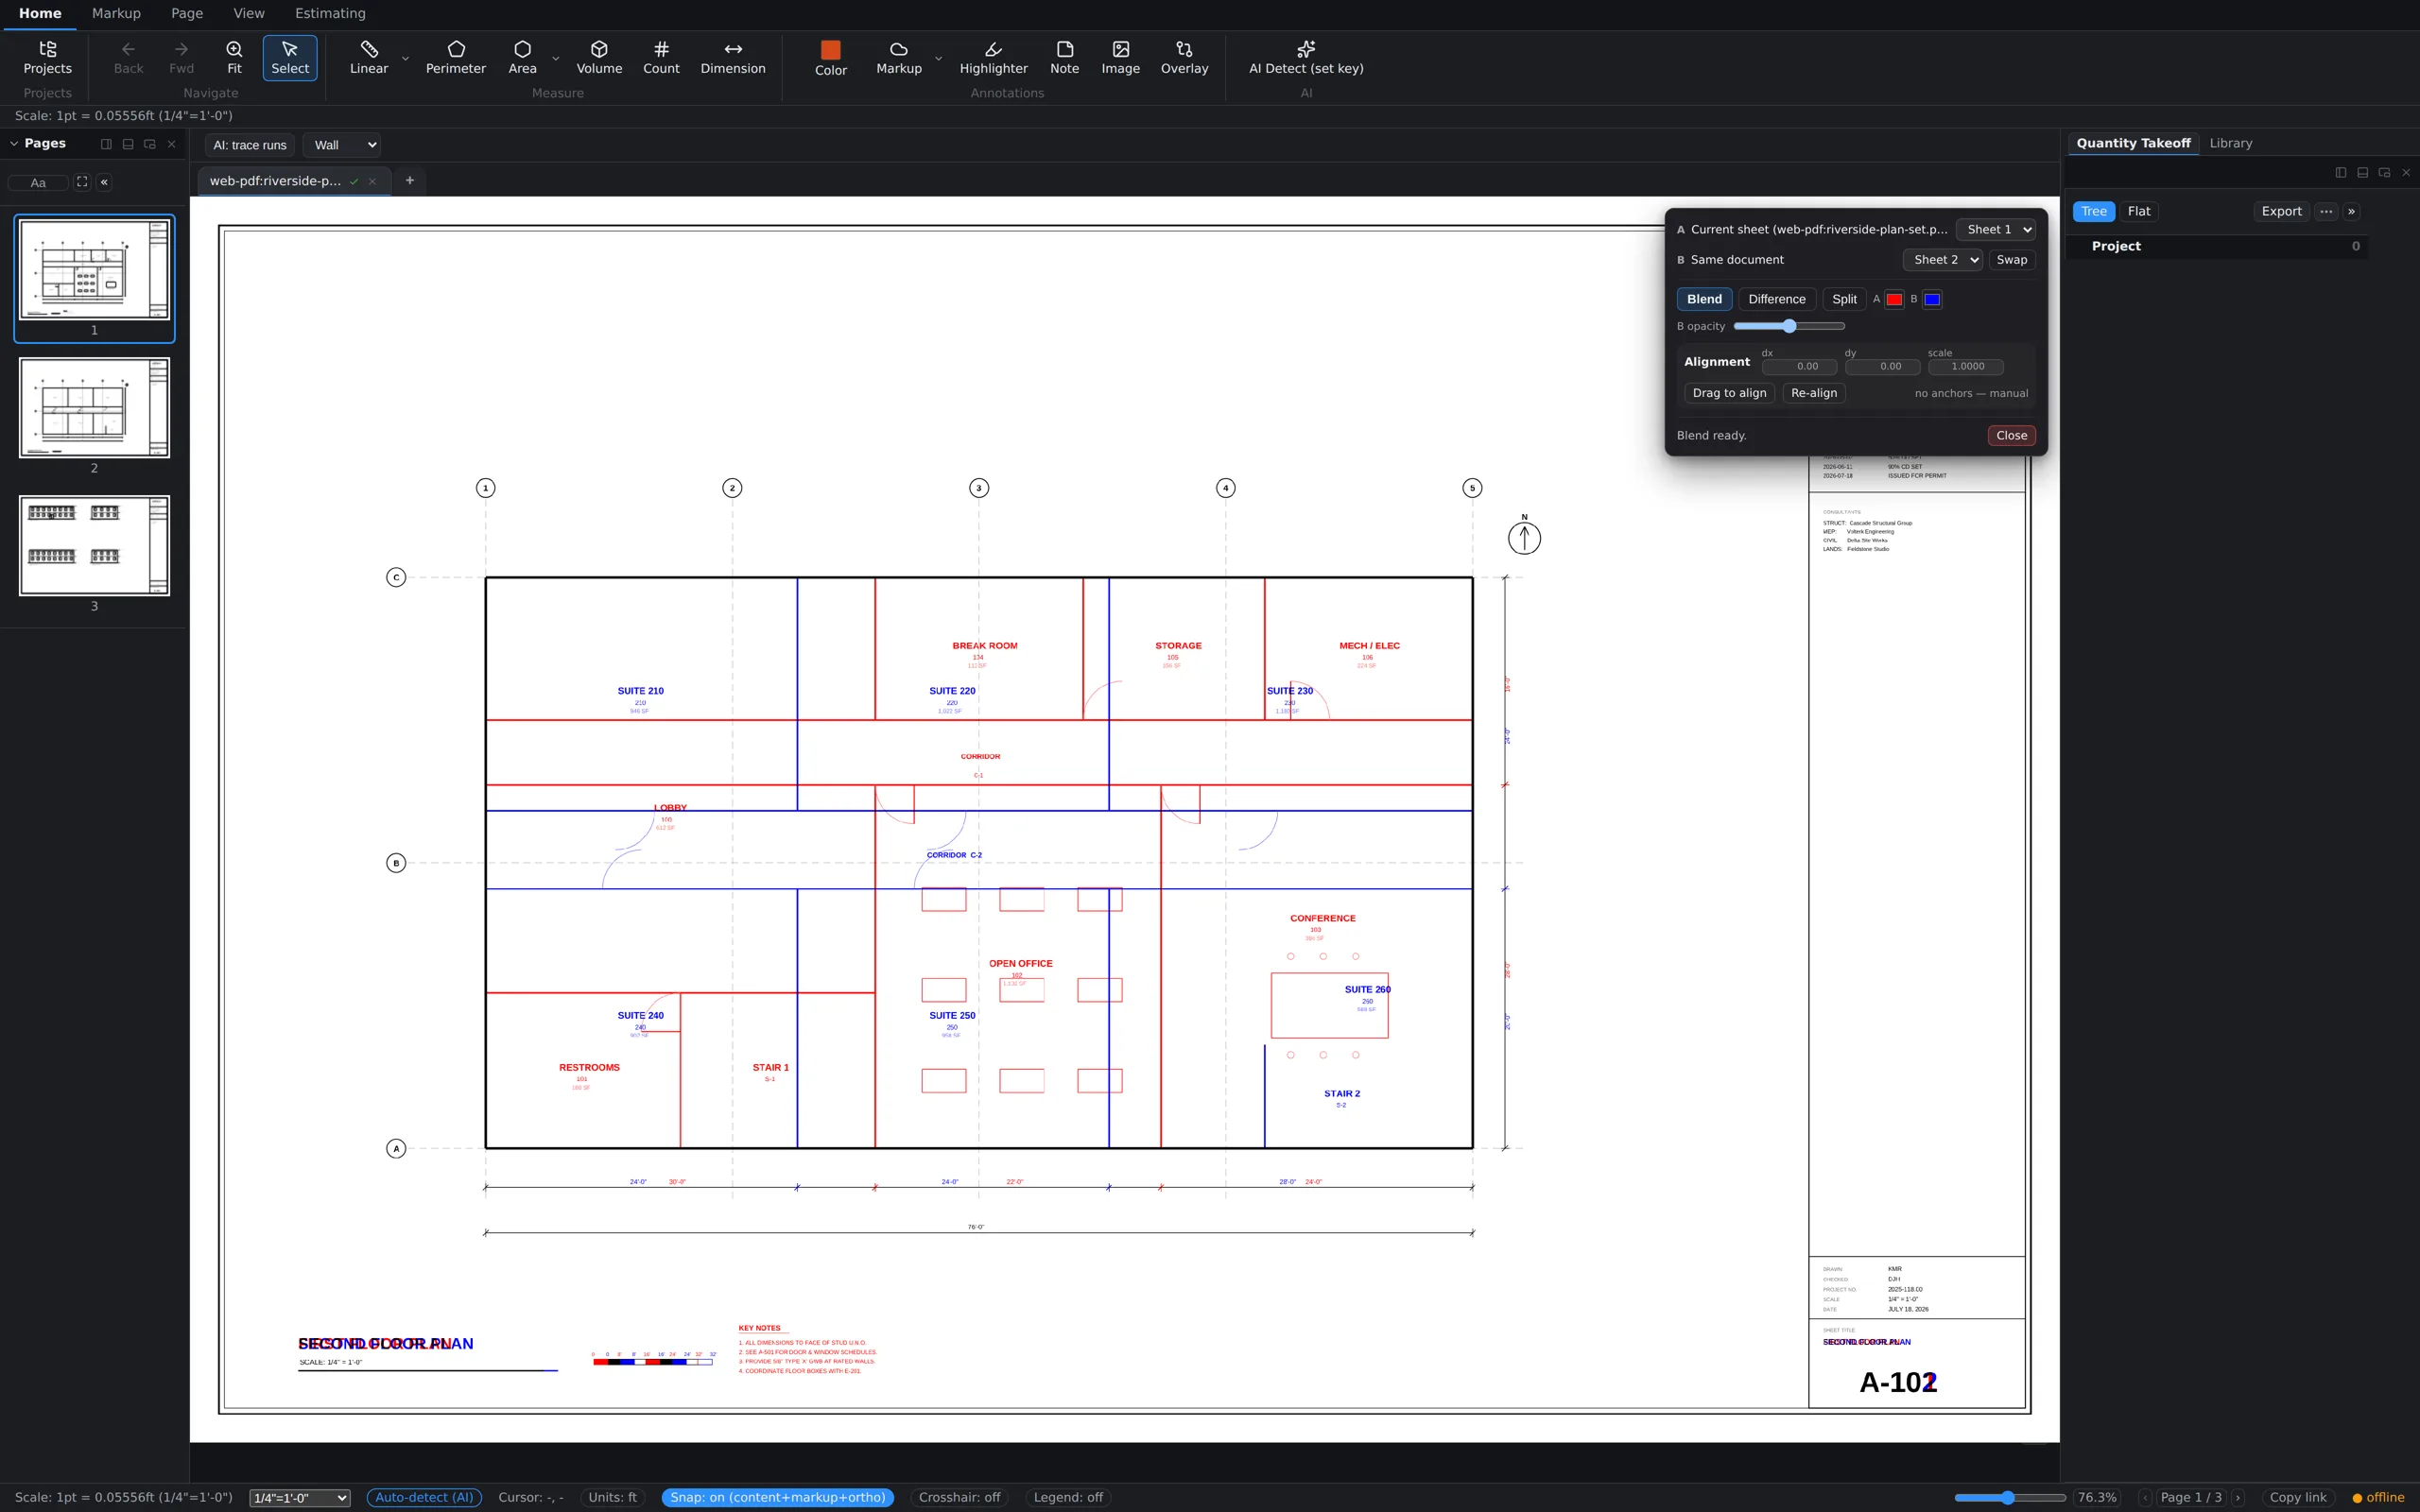
Two newer tricks in the compare toolbar:
- Colorize. In Blend mode, the A and B swatches set each sheet's ink color. The default red/blue works for most sets, but when the drawings themselves are full of red revision clouds, switching B to green (or anything else) keeps the two sheets readable at a glance.
- This document. You don't need a second file to compare — the This document button overlays two pages of the set you already have open. Check a unit plan against its mirrored twin, or an enlarged plan against the overall, without touching the file picker.